
20 Feb 2026
Post by Callie
Introduction
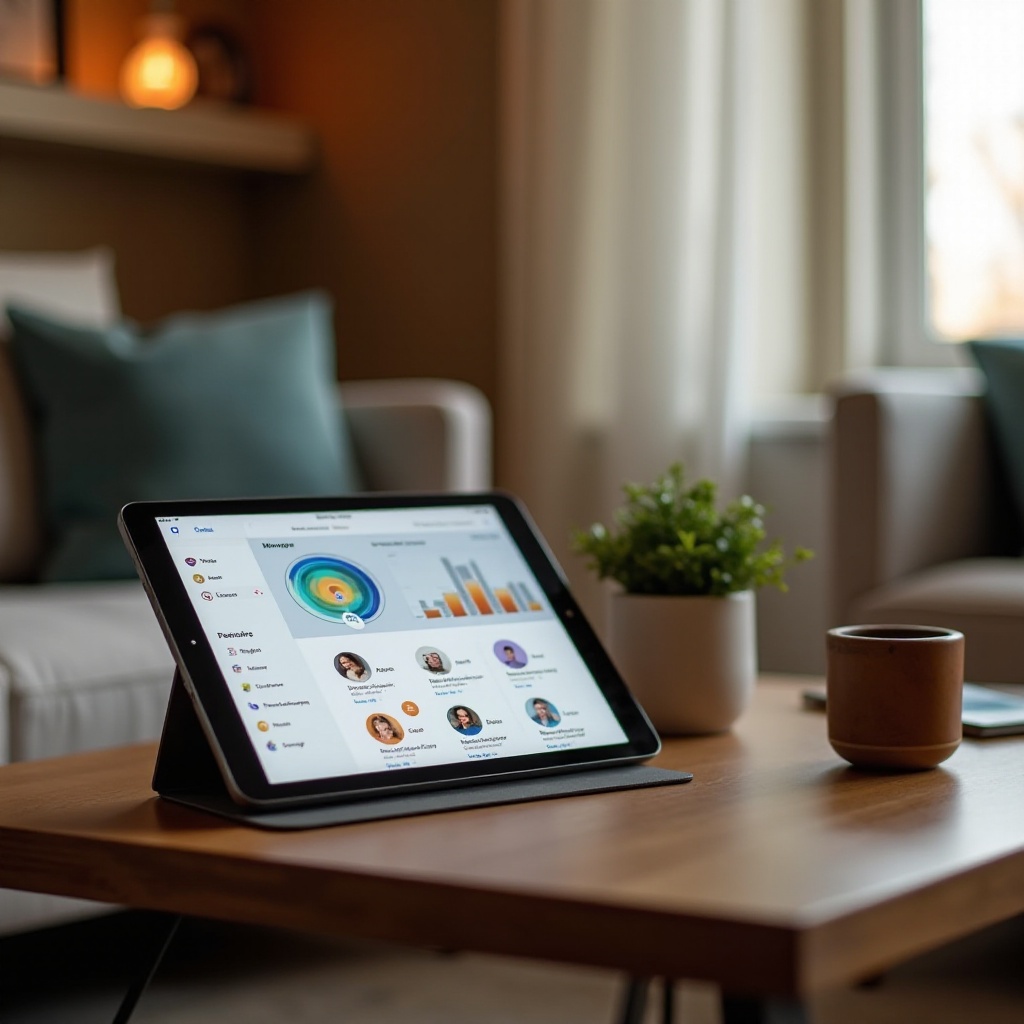
The integration of smart technology into our homes has never been more seamless, and using an iPad as a home hub exemplifies this ease. By setting up your iPad to manage HomeKit-enabled devices through the Apple Home app, you bring centralized control to your fingertips. This setup facilitates convenience, enhances security, and creates an efficient living environment. Follow this guide to unlock and maximize your iPad’s potential in your smart home.
Why Use an iPad as a Home Hub?
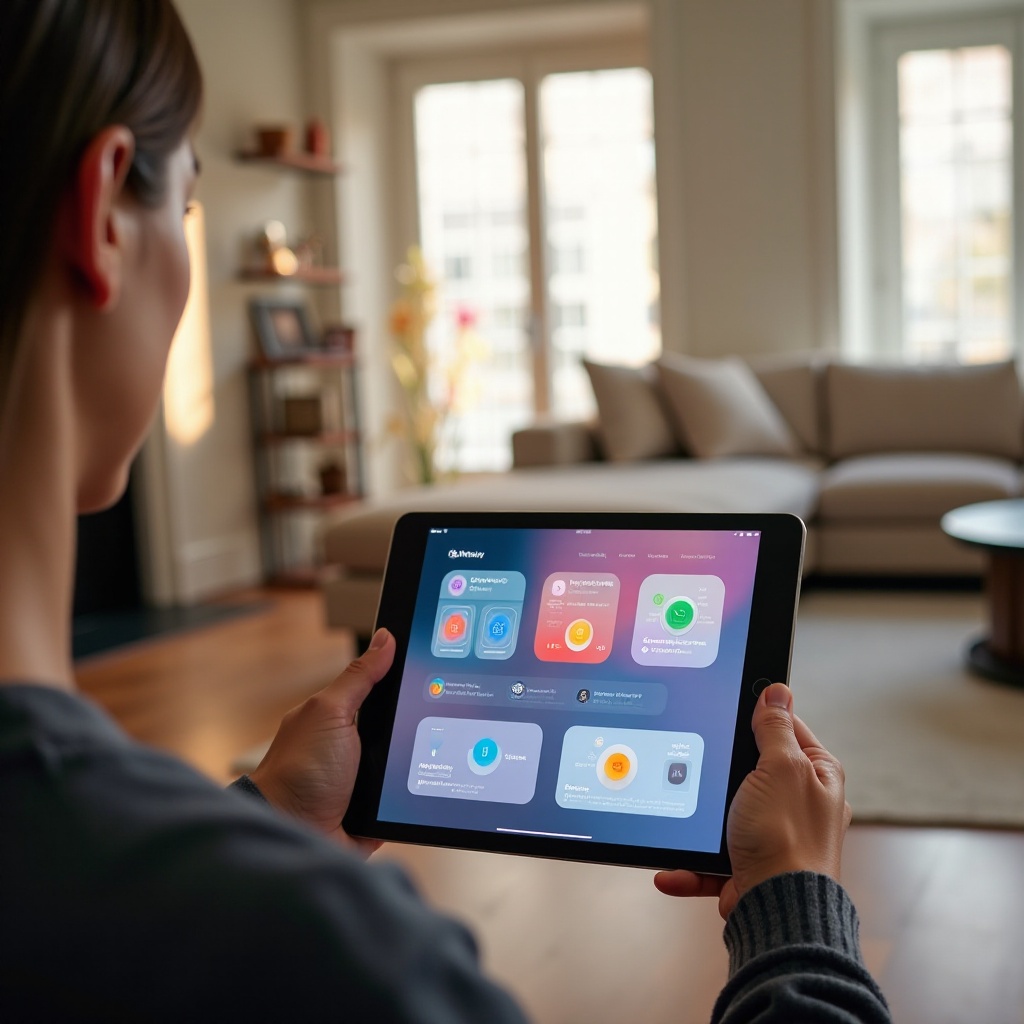
Adopting an iPad as your home hub can revolutionize the way you interact with your living space. Not only does it provide a single point of control for your smart devices, but it also allows you to manage these remotely. Picture adjusting your lighting, thermostat, or security settings from anywhere, just with a tap on your screen or a voice command through Siri. The intuitive interface of the iPad ensures that this control is both user-friendly and efficient. Moreover, its capability to handle a wide array of HomeKit devices makes it an invaluable asset in creating a connected and intelligent home environment.
As you understand the benefits, preparing your iPad with the necessary requirements is the next step towards transforming your living space.
Requirements and Preparation
Before diving into the setup, ensure your iPad and network are fully equipped for the task.
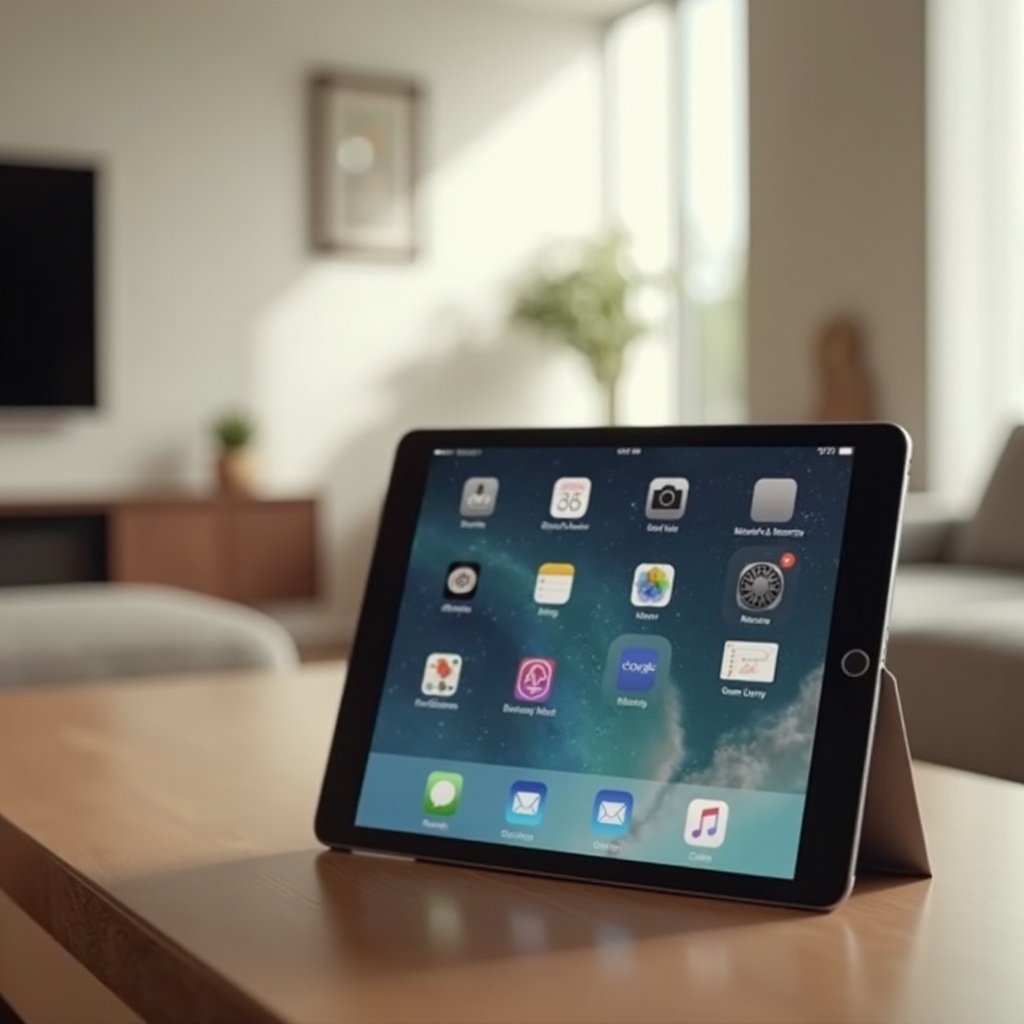
– Compatible iPad Models: Your iPad must be running iOS 10 or later. Devices like iPad Pro, iPad Air 2, and later versions are generally suitable.
– Software and Network Requirements: Keep your iPad updated with the latest iOS version to optimize performance and security. A stable Wi-Fi network is critical for maintaining constant communication between devices.
Preparation doesn’t end with verifying compatibility; it involves updating your iPad and ensuring your network stability. Once these are checked, you’re ready to proceed to the setup phase.
Step-by-Step Guide to Setting Up Your iPad as a Home Hub
The process of setting up your iPad as a home hub can be straightforward. Here’s how to do it:
1. Preparing Your iPad:
– Update to the latest iOS version available.
– Plug your iPad into a power source regularly to ensure uninterrupted service as a home hub.
2. Enabling Home Hub Features:
– Open ‘Settings’ on your iPad.
– Tap your name at the top and select ‘iCloud’; ensure ‘Home’ is toggled on within Apps Using iCloud.
– Enable ‘Keychain’ for remote access capabilities.
3. Configuring HomeKit Accessories:
– Open the ‘Home’ app.
– Tap the ‘+’ icon to add accessories, following the prompts to connect your smart devices.
– Organize these into rooms or zones to streamline management.
Following these steps, your iPad now serves as the operational core for your smart devices, offering enhanced control and connectivity. To further enhance your smart home experience, delve into how you can optimize these capabilities.
Maximizing Your iPad’s Home Hub Capabilities
Beyond basic control, your iPad can unlock deeper integrations and automations. Consider these enhancements:
– Integrating Third-Party Accessories: Explore a range of HomeKit-compatible devices from various manufacturers, expanding your home’s capabilities. From smart light bulbs to detailed security systems, the ecosystem is vast and growing.
– Creating Custom Automations:
– Use the ‘Home’ app’s Automation tab.
– Set up triggers based on your location, time of day, or device interactions.
– Tailor these automations to your routine, like having lights turn off when everyone leaves the house.
These steps enhance convenience, tailoring your environment precisely to your needs. However, issues may arise, requiring troubleshooting strategies to ensure everything runs smoothly.
Troubleshooting Common Issues
Here are solutions to potential hiccups you might experience:
– Connectivity Problems: Verify your iPad’s Wi-Fi connection, and that all devices are current with their software updates. A router restart can often resolve temporary issues.
– Device Not Responding: If a device remains unresponsive, restart it and ensure it’s updated. If difficulties continue, try removing and re-adding it in the Home app.
With these solutions, you maintain uninterrupted operations. Continue refining your setup with best practices that further optimize performance.
Advanced Tips and Best Practices
Elevate your smart home management with these additional insights:
– Enhancing Security and Privacy: Guard your networks with strong, unique passwords and employ two-factor authentication for your Apple ID.
– Energy Efficiency: Implement automations to power down devices when they’re unnecessary, cutting down on energy use and costs.
Incorporating these strategies fosters a home that’s both intelligent and resource-efficient.
Conclusion
Setting up your iPad as a home hub is a gateway to an enhanced smart home experience. This guide equips you with the steps and insights needed to innovate your daily routines and home interactions. As you expand your smart home ecosystem, continue exploring new technologies and integrations to stay at the forefront of this dynamic field.
Frequently Asked Questions
Can any iPad be used as a home hub?
Only compatible models running iOS 10 or later can be used. Check your device’s eligibility by updating to the latest iOS version.
Do I need an internet connection for the iPad home hub?
Yes, a stable Wi-Fi network is essential for the iPad to communicate with your smart devices effectively.
How can I control accessories when I’m away from home?
Ensure your iPad is set as a home hub and connected to the internet. Access your devices remotely via the Home app on your iPhone using the same Apple ID.