
21 Oct 2024
Post by Callie
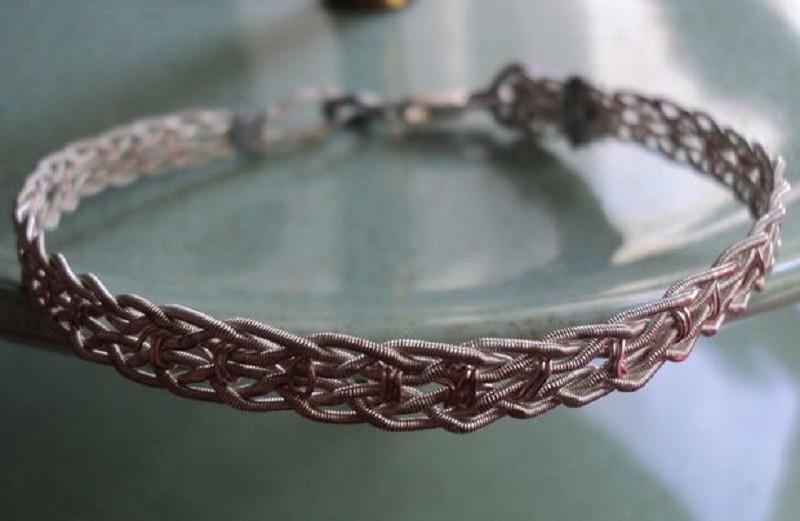
Creating a guitar string bracelet is a fantastic way to repurpose old strings and craft something unique and personal. Whether you’re a music lover, a musician, or someone who enjoys DIY jewelry, making a guitar string bracelet can be a fun and rewarding project. This guide will walk you through everything you need to know about how to make a guitar string bracelet, from gathering the necessary materials to learning the step-by-step process. You’ll also learn how to care for your new piece of wearable art to ensure it lasts.
What You’ll Need for a Guitar String Bracelet
Before you start crafting your guitar string bracelet, it’s important to gather all the materials and tools you’ll need. Having everything ready will make the process smooth and enjoyable.
Step-by-Step Guide to Making a Guitar String Bracelet
1.Creating a guitar string bracelet involves a few basic steps. Follow these instructions to craft your own unique piece of jewelry:
2.Measure Your Wrist: Use a measuring tape to measure the circumference of your wrist. Add about 1 inch to this measurement to allow for comfort and movement. This will be the length of the guitar string you need.
3.Cut the Guitar String: Use wire cutters to trim the string to the desired length. Be sure to cut it slightly longer than your measurement to accommodate loops or clasps.
4.Shape the String into a Bracelet: Gently bend the string into a circular shape, matching the size of your wrist. If you’re using wound strings, they will naturally form a circle, making this step easier.
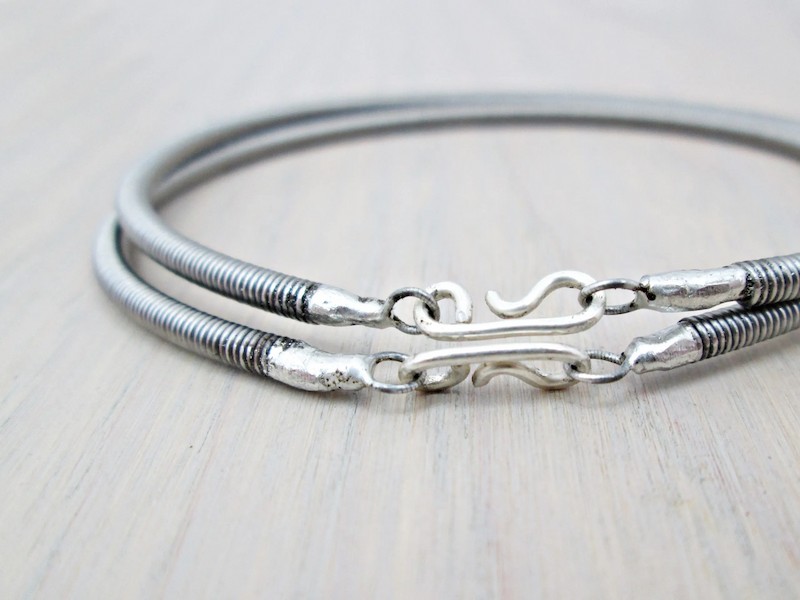
5.Create Loops for the Clasp: Use pliers to form small loops at both ends of the string. These loops will hold the jump rings and clasps. Twist the ends tightly to secure the loops and prevent them from unraveling.
6.Attach the Clasp: Use jump rings to connect the clasp to one end of the bracelet and a matching jump ring to the other. This allows the bracelet to close securely around your wrist.
7.Add Beads or Charms (Optional): If you want to add a personal touch, slide beads or charms onto the string before closing the loops. This is a great way to customize your bracelet and make it truly one-of-a-kind.
8.Secure All Ends: Check all connections to ensure that they are tight and secure. Use pliers to adjust any loose ends or clasps.
9.Test the Fit: Try on the bracelet and adjust as needed. Ensure that it sits comfortably on your wrist and that the clasp works smoothly.
Care and Maintenance for Your Guitar String Bracelet
Taking care of your guitar string bracelet is essential to maintain its appearance and longevity. Proper care will prevent rust, tarnish, and wear, keeping your bracelet looking great over time.
Conclusion
Creating your own guitar string bracelet is a rewarding and creative way to repurpose old strings and express your love for music. With the right tools and a little patience, you can craft a unique piece of jewelry that reflects your personal style. From the initial cutting of the string to adding personalized charms, every step is an opportunity to make something truly special. With proper care and maintenance, your guitar string bracelet will be a cherished accessory for years to come.
FAQs
Do guitar string bracelets rust?
Yes, guitar string bracelets can rust, especially if they are made from steel or nickel strings. To prevent rusting, avoid exposing your bracelet to moisture and humidity. Regularly wipe it with a dry cloth and store it in a dry place when not in use. For added protection, consider applying a thin layer of clear nail polish to seal the string.
Can I add beads or charms to my guitar string bracelet?
Absolutely! Adding beads or charms is a great way to personalize your guitar string bracelet. You can slide beads onto the string before securing the ends or attach charms using small jump rings. Choose elements that complement the style of the string and represent your personal taste.
How do I adjust the size of my guitar string bracelet for a perfect fit?
To adjust the size of your guitar string bracelet, you can carefully reshape the string to tighten or loosen it as needed. If the bracelet feels too loose, use pliers to slightly bend the string for a snugger fit. For a bracelet that’s too tight, consider adding extra jump rings at the clasp for added length. Always handle adjustments gently to avoid damaging the string.